Getting Started#
This page takes you from a fresh account to your first executed algo order. Sign-up and linking a venue take a few minutes each; activating your subscription is immediate by credit card, or as long as your account manager needs if you are invoiced.
Prerequisites#
- An account on at least one supported venue, funded with the asset you intend to trade.
- Derivatives enabled on that venue account if you plan to trade perpetuals.
- Permission on the venue to create API keys and to restrict them to an IP allowlist.
1. Create your account#
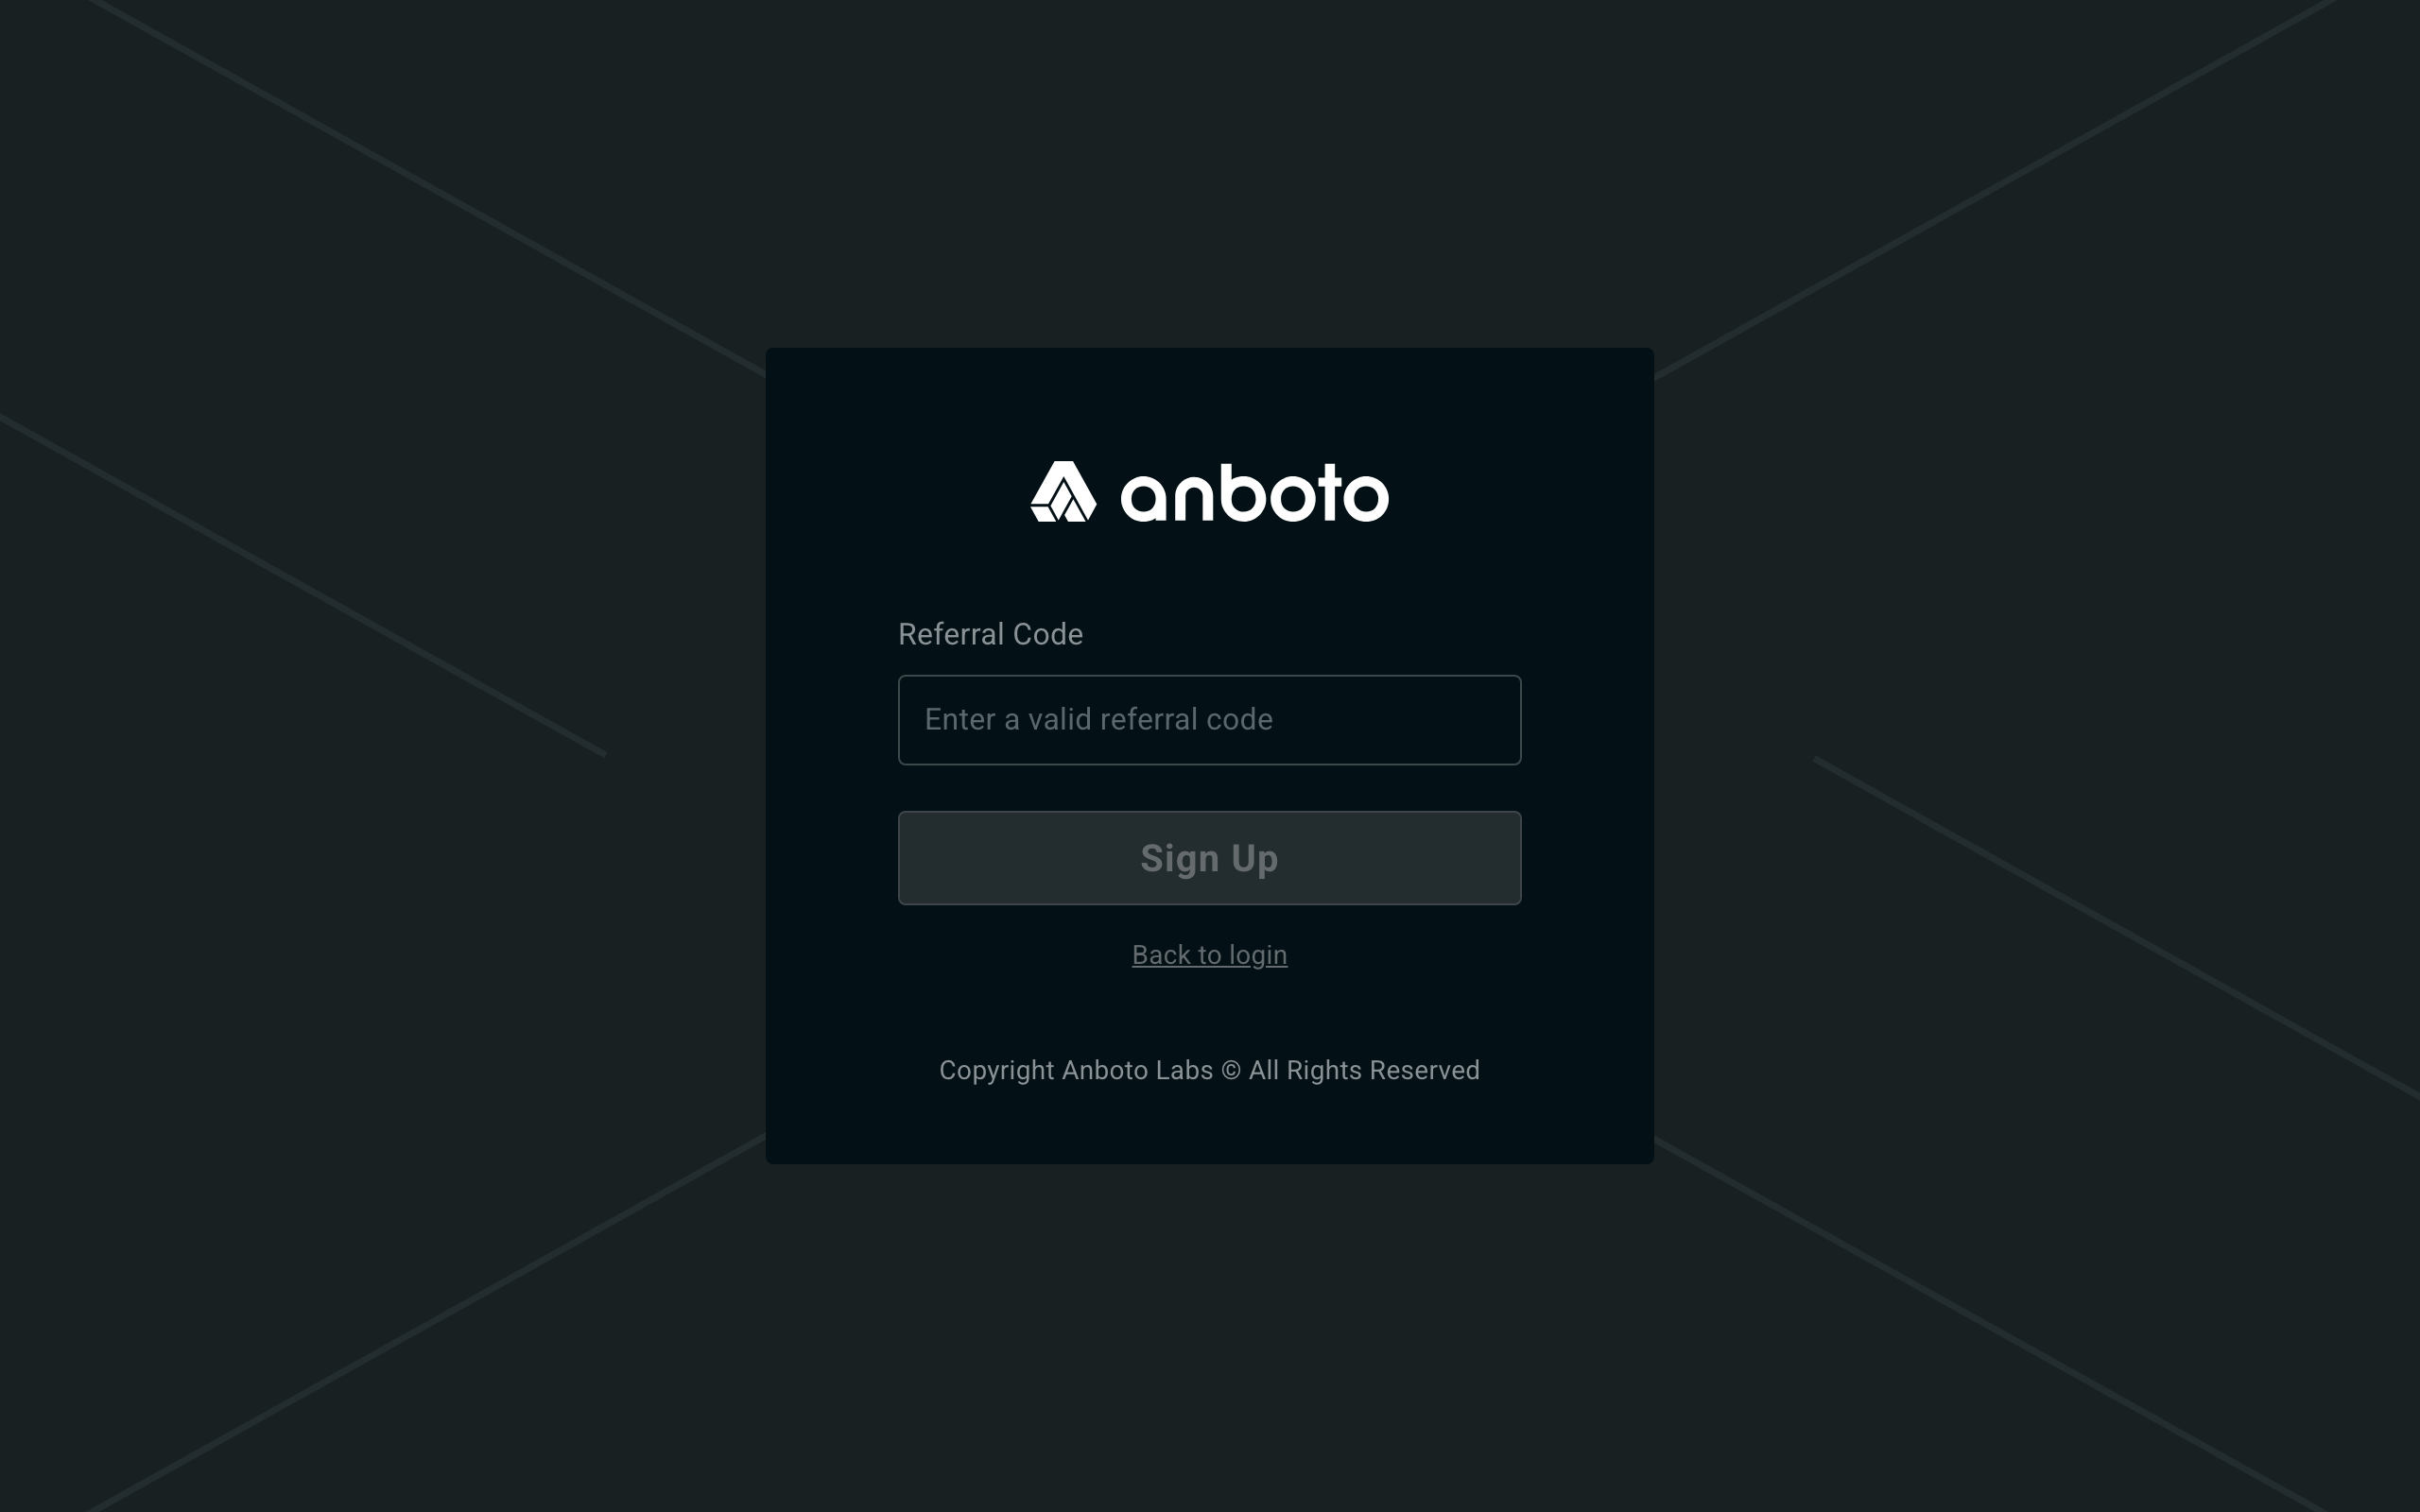
- Go to pro.anboto.xyz and sign up with your email address.
- Confirm the verification code sent to your inbox and set a password.
- On first login you land in your default workspace.
2. Connect an exchange#
Anboto executes on your exchange accounts — it never holds funds. Connect at least one venue:
- Open Settings → Linked Exchanges (top right) and pick the tab for your venue type: Link CEX, Link OTC, or Link Perp-DEX.
- On the venue side, create an API key with trading permission only — no withdrawal permission. See API Key Security for how keys are stored.
- Restrict the key to Anboto's IP allowlist. This step is mandatory: copy the IPs shown for your account on Settings → Linked Exchanges and add them on the venue side, or the key will fail validation.
- Enter the credentials in Anboto and save. Seven of the fifteen supported venues need a third credential alongside the key and secret — a passphrase, account ID, or key pair, depending on the venue; the venue support matrix shows which.
The full walkthrough, per venue, is in Connect Exchanges.
3. Activate your subscription#
Open Billing and subscribe with a credit card, or ask your account manager to set the subscription up for you. Execution fees are charged separately on the volume you trade — see Fee Rates.
4. Place your first order#
- In the trading workspace, pick a symbol (e.g.
ETH/USDT · Binance · perp). - Choose direction (Buy/Sell), the account to trade on, and a quantity.
- Pick a strategy — TWAP with a 1-hour duration is a good first order.
- Choose a trading style: Passive, Hybrid, or Aggressive (see Maker vs. Taker).
- Review and submit.
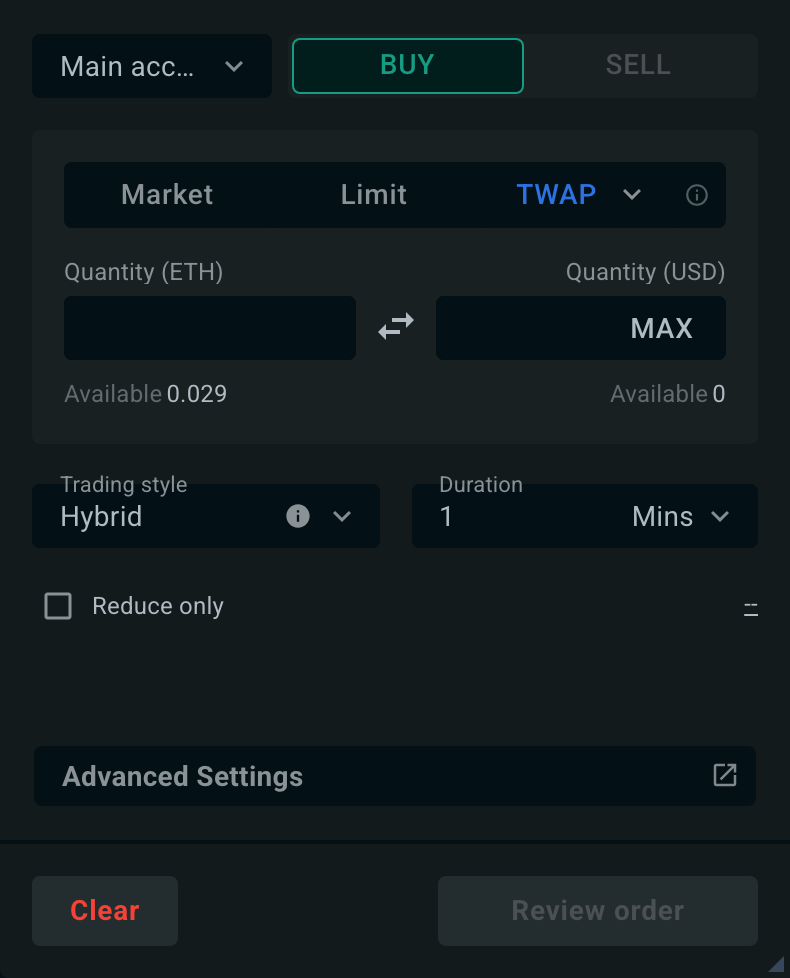
Your order appears in the Regular orders tab, where you can watch fills arrive. Cancel is the only action on a live order — there is no amend and no manual pause; to change a parameter, cancel and place a new order for the remaining quantity. See Order Monitoring & History and Managing Orders.
Where to go next#
-
Choose the right algo
When to use TWAP vs VWAP vs POV vs IS — a practical guide.
-
Set up your team
Invite teammates and organize your team's accounts.